
Kit: Dragon 1/35 #6168/6244
Tracks: Masterclub MTL35001
Barrel: RB Model 35B06D
Photo Etch: Voyager PE35084
Cables: Eureka XXL ER-3514
Damaged road wheel set: ET Model ER35-036
Resin Zimmerit Atak 35021
This kit is the 2004 Normandy anniversary edition with the slightly odd colored photo instruction sheet. The kit review can be found here
I was informed some of these initially released kits were offered with a metal barrel but unfortunately the two I purchased didn't! Both mine came with rubber tracks. A later addition of this kit (@6168MT) was released in 2017 with magic tracks.
The build was straight forward but the Zimmerit application was a bit challenging. My set was vertically short on one hull side and also on one side of the turret. I used Mr Hobby's excellent, but extremely pungent Mr Surfacer 1500 to fill any gaps. Once complete the Zimmeret was roughed up in places with an electric burr to show wear and tear and then the whole model was sprayed with Halfords (UK automotive brand) primer.


After checking for any imperfection or errors to the build which would now show up more clearly under the primer, more work was needed to blend the damaged Zimmerit to the metalwork underneath, as the Atak resin sheets are a little thick scale wise. Once I was happy I proceeded to lay down a red oxide coat over all the bare metal. This was completed in two light coats using Mission Models red oxide acrylic. The barrel received a dark grey Tamiya acrylic undercoat as they were covered in a grey heat resistant paint from the factory.


Two fine mist coats of Tresemme fine mist hairspray were then applied direct from the can. Both hatches that will be portrayed as open were temporarily buttoned up, so the primer coat would leave a nice demarcation line after the base coat was down. Once the hairspray had dried I mixed up a Tamiya acrylic base coat of Dunkelgelb (dark yellow, flat white and flat yellow) thinned with water. I have always found thinning with H2O works best when attemting hairspray chipping. Once this had dried a second light coat, again thinned with water, was applied. This consisted of Tamiya dark yellow, flat white and deck tan. This was applied from above as a highlight coat to all horizontal surfaces. Once dry I set about chipping areas that would receive wear and tear, and to the parts of the vehicle that I had represented as receiving damage.
Working in small areas I dampened the paint with a little tap water, being cautious not to let it pool and left it a minute to react with the hairspray. I use various old brushes and cocktail sticks to create the chips depending what is required. I always use a soft scrubbing motion at first, just enough to agitate the hairspray. If the paint is difficult to remove at first,
a little nick with a cocktail stick or blade will be enough to start the process. A soft brush will take longer to remove the paint but it will give more control than a stiff one, so be careful not to wet the surface too much or scrub too hard and lift too much paint. Less is definitely more.


As much as I enjoy the hairspray chipping process it is very easy to overdue. I was as subtle as possible and used ref pics to assist me represent wear and tear in places that are most likely to receive damage from both operating the vehicle and from the crew.
The image of the sprocket below shows how this process can achieve realistic results and is a great first step for adding the many varied weathering effects to follow.

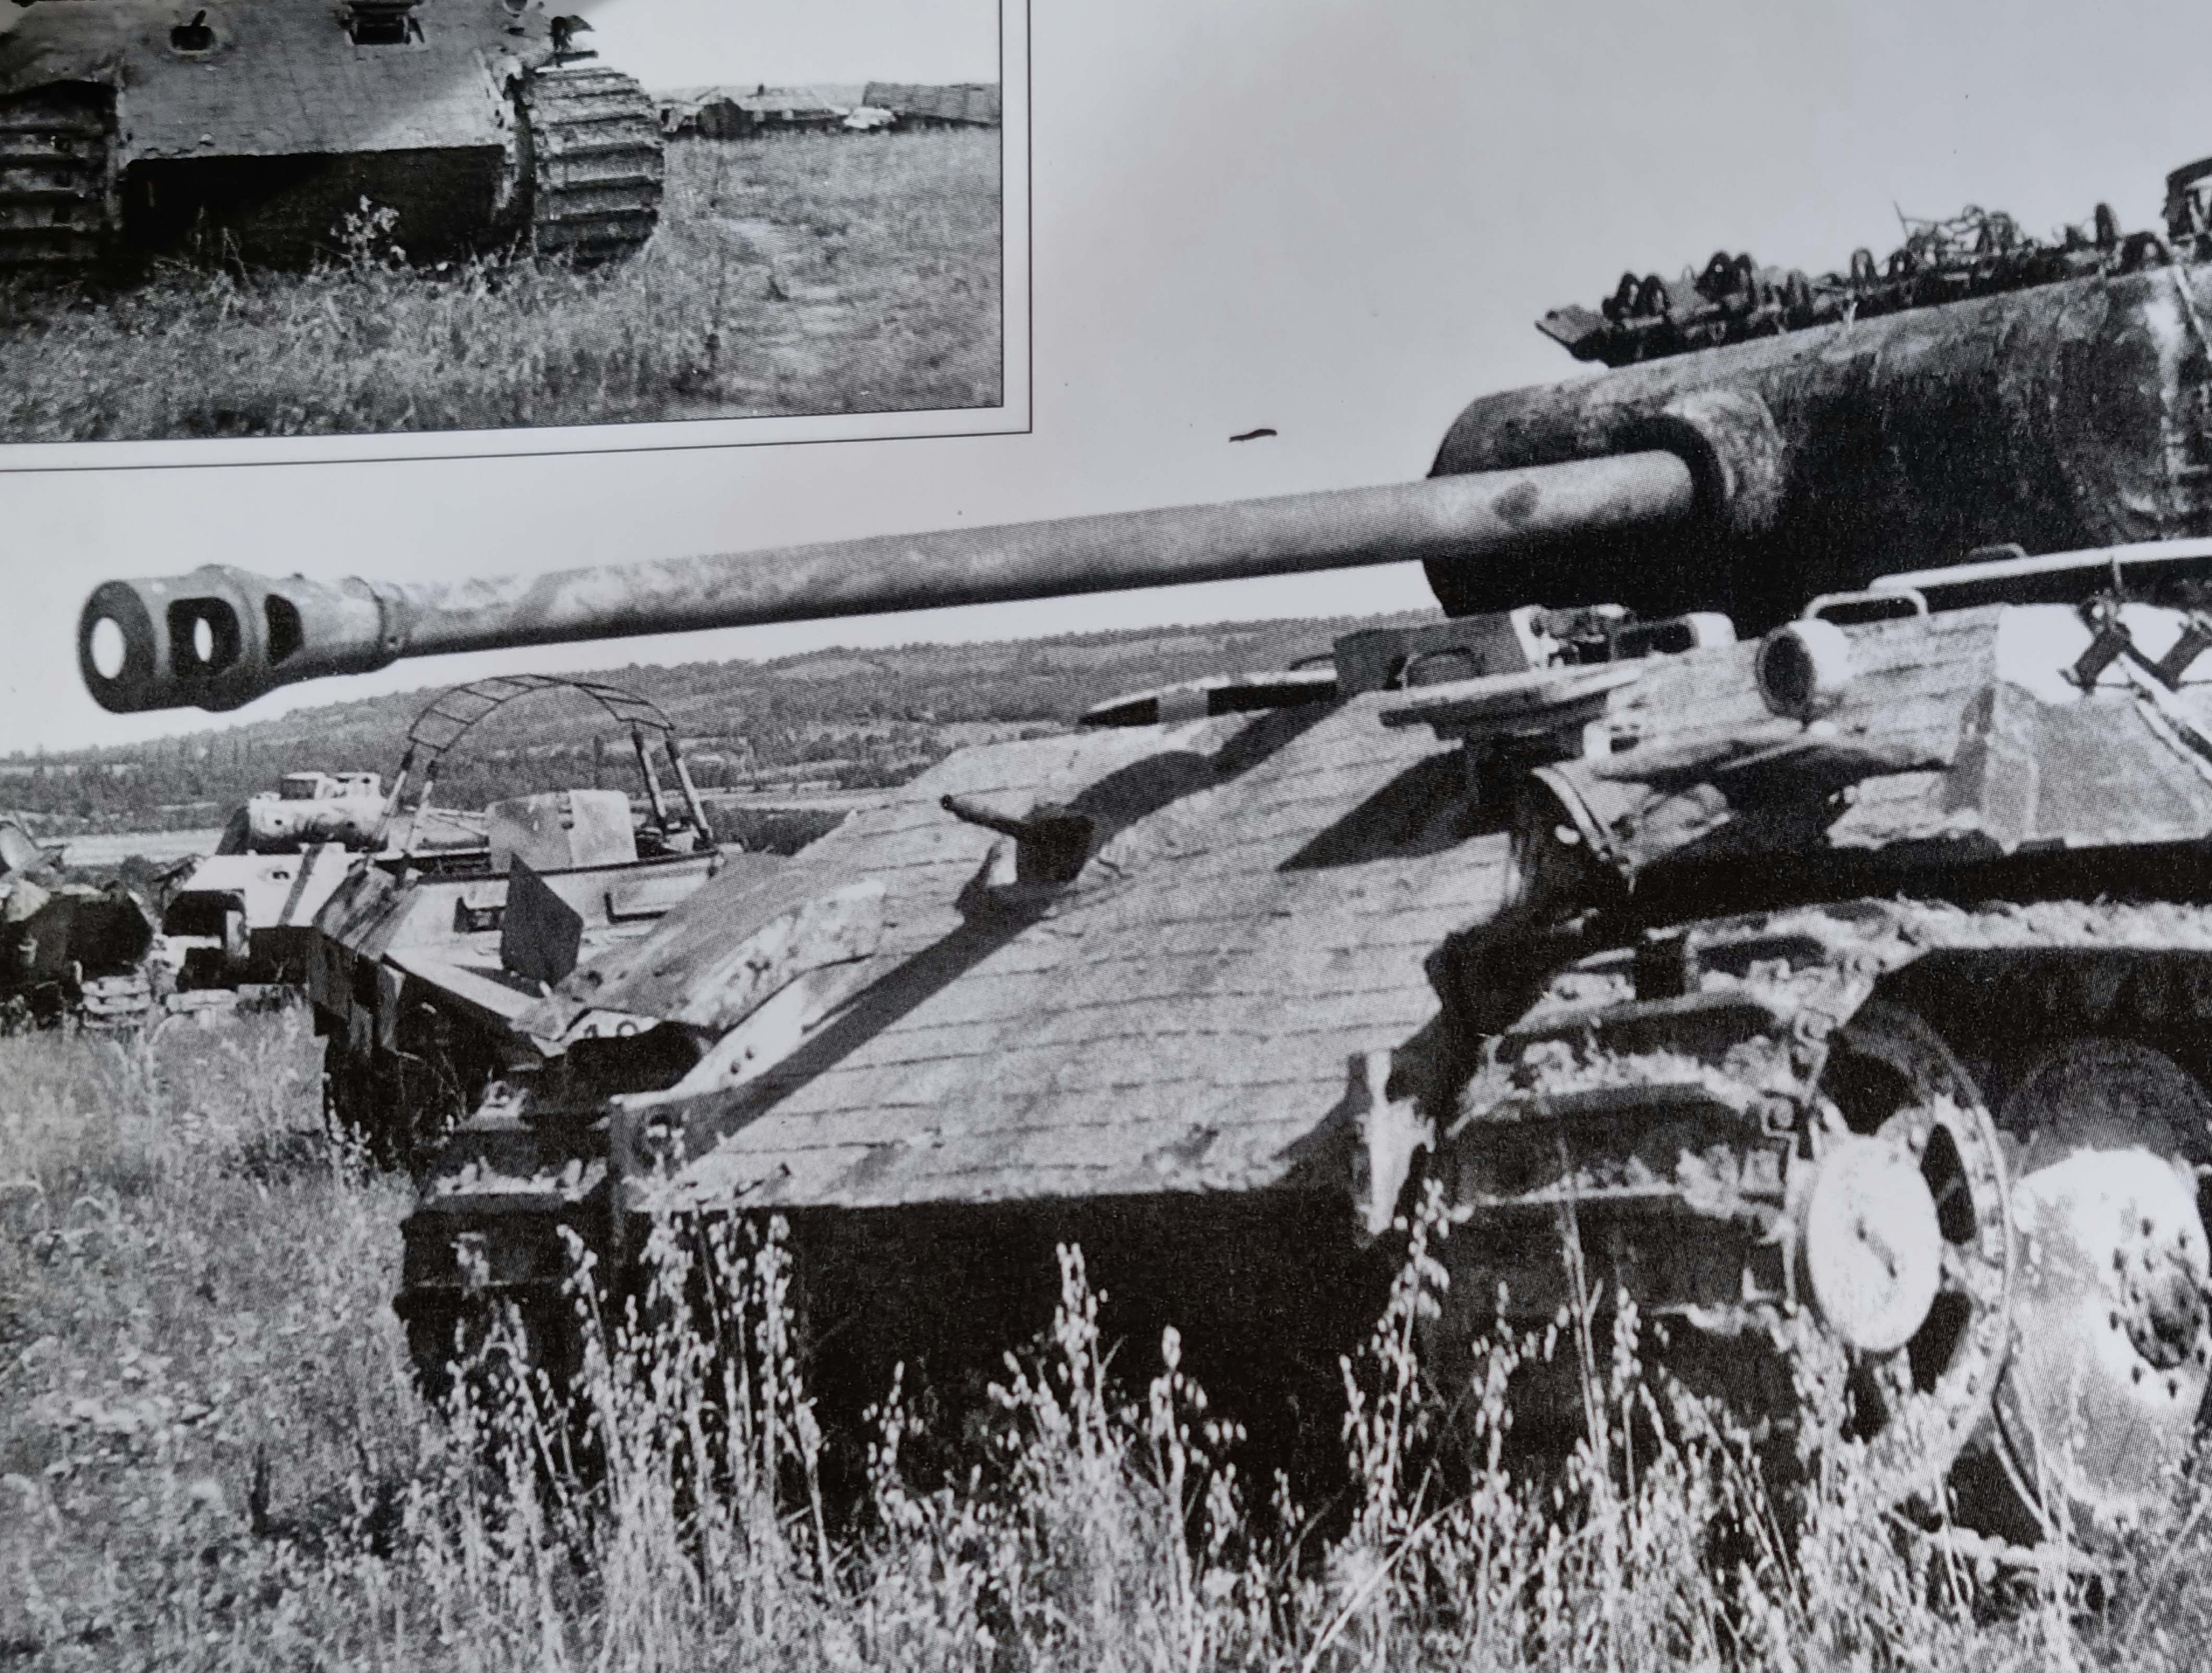
A good airbrush session at the bench saw both camo colours laid down. Tamiya acrylics thinned with H2O were employed. For the red brown a used a mix of XF64, XF60 and XF15. For the green, a mix of XF58 and XF60. The patterns were sprayed on free hand with the help of a few period images. I then went back and forth with each colour until I was happy with the pattern. A light coat of hairspray was used under both colours.


Once
dry, and with the hairspray to assist me, I lightly scrubbed over the pattern in strategic areas to reveal the coat underneath. The camo coats on any ridges of the zimmerit were instantly lightened and it had a similar effect to dry brushing each camo colour
with a lighter shade and it immediately tonede down the overall contrast. Applying hairspray also meant any over-spray was easily removed. My next step was to tidy up all the damaged zimmerit areas by adding a little red oxide to the centre and ensured all the edges of the impact were in the chalky buff colour.
The next step involved adding a lightened shade of the original Dunkelgelb with a paintbrush to raised areas and also to chipped areas creating a 3D effect.
The cables and exhausts were painted next then I turned my attention to the tracks. Once the Masterclub set was assembled they were given a soak in the last of my 'Blacken it' stash. I will have to turn to a few other makes from now on as I have not been able to locate any more. Once the tracks were burnished I set about weathering them with enamels, oil paints and pigments. I didn't go overboard as the vehicle is displayed abandoned.


The image of the sprocket below shows how this process can achieve realistic results and is a great first step for adding the many varied weathering effects to follow.


The next step involved adding a lightened shade of the original Dunkelgelb with a paintbrush to raised areas and also to chipped areas creating a 3D effect.
My next mission was to knock up a base to show the kitty off. This is made up of a picture frame base with plasticard sides, This was then filled with foam bricks to form a the rough contours. The surface was then covered with acrylic texture paste and left overnight.

An old Panther tank model was then used to make an imprint of the tank's resting place on top of a second texture paste layer. A weight was then added pushing it down into the groundworks to simmulate the effect of the vehicle's weight. A grass mat was then trimmed to fit the scene and added around the tanks imprint. A few strategically placed grass tufts were also added while the textured groundwork paste was still wet.

The next step will be to build and paint some Panther paraphernalia and other dumped AFV parts and place them around the groundworks.


After many moons the project is complete.


No comments:
Post a Comment