Groundwork
I've not attempted too many bases for my finished models, and the ones I have had made have been minimal affairs utilising items I've found about the house. Old wooden name plates and even an Ikea shelf! Not the best looking or ideal material but they have been a test bed and cost me nothing.
I have been slowly acquiring various groundwork products such as cheap picture frames, clays and sculpting materials, vegetation, ground mats and the like. To date I have only used a few of these materials, and the bases built from them have been very small affairs, showing simple road or track sections. As for buildings I have messed around with a selection of Miniart's vacuum products but didn't get on with them too well!
I now need to learn the basics and find out which adhesives bond with which materials best, and how to construct a base from scratch. I have plenty of vignette/diorama ideas of which many are sketched, so putting them into practice is the next step.
As my earlier attempts have all had the groundwork simple sat on top of the base, I am going to attempt one with the groundwork framed. I personally think this design gives a better sense of scale and elevates the whole scene. Also, the height of the terrain can be manipulated to a greater extent. Polystyrene seems to be the cheep, go-to product for bulking up the initial stages of the groundwork. It can be found as packing material in hundreds of newly purchased goods. Styrofoam is more expensive to purchase, but is easily sculpted and ideal for building the final terrain layers. It can also be used for making walls or whole buildings. Unfortunately, I have been unable to source any locally as yet!
So, for my first attempt I managed to source some floral foam which is very cheap to buy and very lightweight. Although not as easy to sculpt as Styrofoam, it can be cut cleanly with a sharp knife and manipulated well enough to form a shaped terrain layer. Mine was purchased as a small block and will be used to create a small setting for one vehicle.
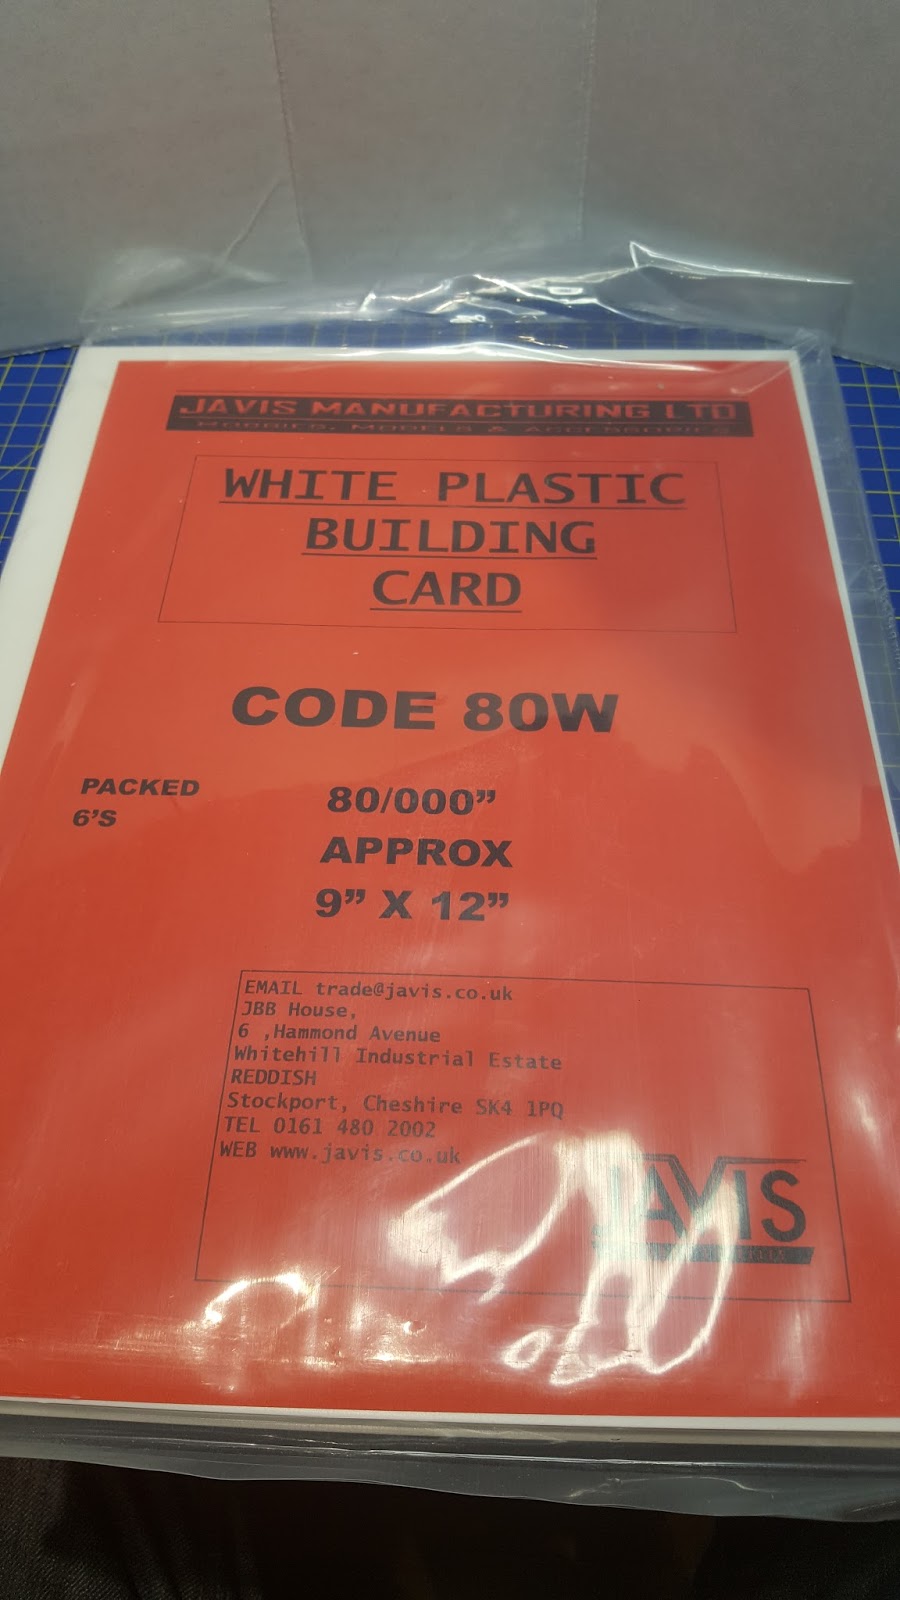
Materials I acquired for this project: A cheap picture frame, a
floral foam brick, and some plastic card


Construction
After measuring out a four sided card frame to fit snugly inside the picture frame, I cut down the foam block to fit inside.


I then went about sculpting out the foam to form an angled piece of terrain and added deep depressions to accept a tracked vehicle. I then profiled the card sides to match.


No comments:
Post a Comment