Fully primed in Tamiya rattle can red oxide.

Although I
do not intend to beat up the exterior paint finish too much there will have been
prominent areas on the cargo platform which will likely have seen
some significant wear and tear, even over a short operational life. For this task, I will employ the ever-dependable hairspray
method.
For
this
project I will be using MRP paints for the first time. These are lacquer based and require
thinning and cleaning up with a lacquer thinner and not H2O. These are
excellent paints that can be
airbrushed direct from the bottle without the need for thinner if
desired. I found for base
coats my 0.4mm needle worked fine running between 10-12psi. You do need a couple of coats to build up the opacity, but what you are rewarded with is a tough satin smooth finish.
Can you chip MRP paint?
Yes you can. There is a
little confusion about whether MRP lacquer paints are suitable when utilising the
hairspray technique. I can categorically state they work absolutely fine. There is a sweet spot where the process seems to work more effectively and this is dependant on the type and amount of chipping fluid or hairspray used. And just as importantly, the amount of paint layers laid down. For this project I employed two lightly misted coats of rattle can hairspray and two-three lightly airbrushed coats of MRP paint. Come chipping time I also found adding a tiny drop of detergent helped release the surface tension of the H2O over the satin surface. There are plenty of tutorials on the
subject but personally I have always achieved good results with the Tresamme
fine mist cans of hairspray. I often decant and use via an airbrush for smaller
areas to be covered. Out of the can a couple of swift passes at arm’s length is all that is
required.
Base coat
Rather than my usual mix of both red oxide and dark brown primer coats, for
this project I was happy with just the one red primer layer to chip down
to. For the base coat I used MRP-216 dark Yellow-RAL 7028 (variant 2
Ausgabe 1944) It was airbrushed in two-three fine coats. As already mentioned the finish does
exibit a satin sheen which will also help with any pin washes, so will
unlikely require any additional varnish coats.
Base coat chipping
Chipping
began as soon as the overcoat layer of dark yellow paint was touch dry. I find
lukewarm
water works better than cold in agitating the underlying hairspray and
the detergent prevents pooling on the surface. Lightly agitating the
surface with a soft
brush or a cocktail stick is usually sufficient to agitate the surface
paint when using acrylics, but creating the same chipping effects over this MRP
lacquer layer can take a
little more effort, so patience is most definately rewarded. If the ratios of
hairspray and paint coverage is in the
sweet spot,
extremely fine chips and scratches are easily achievable.
Good
results don’t happen overnight, so testing the method on a shelf queen
or spare
piece of plastic card will pay dividends.
The
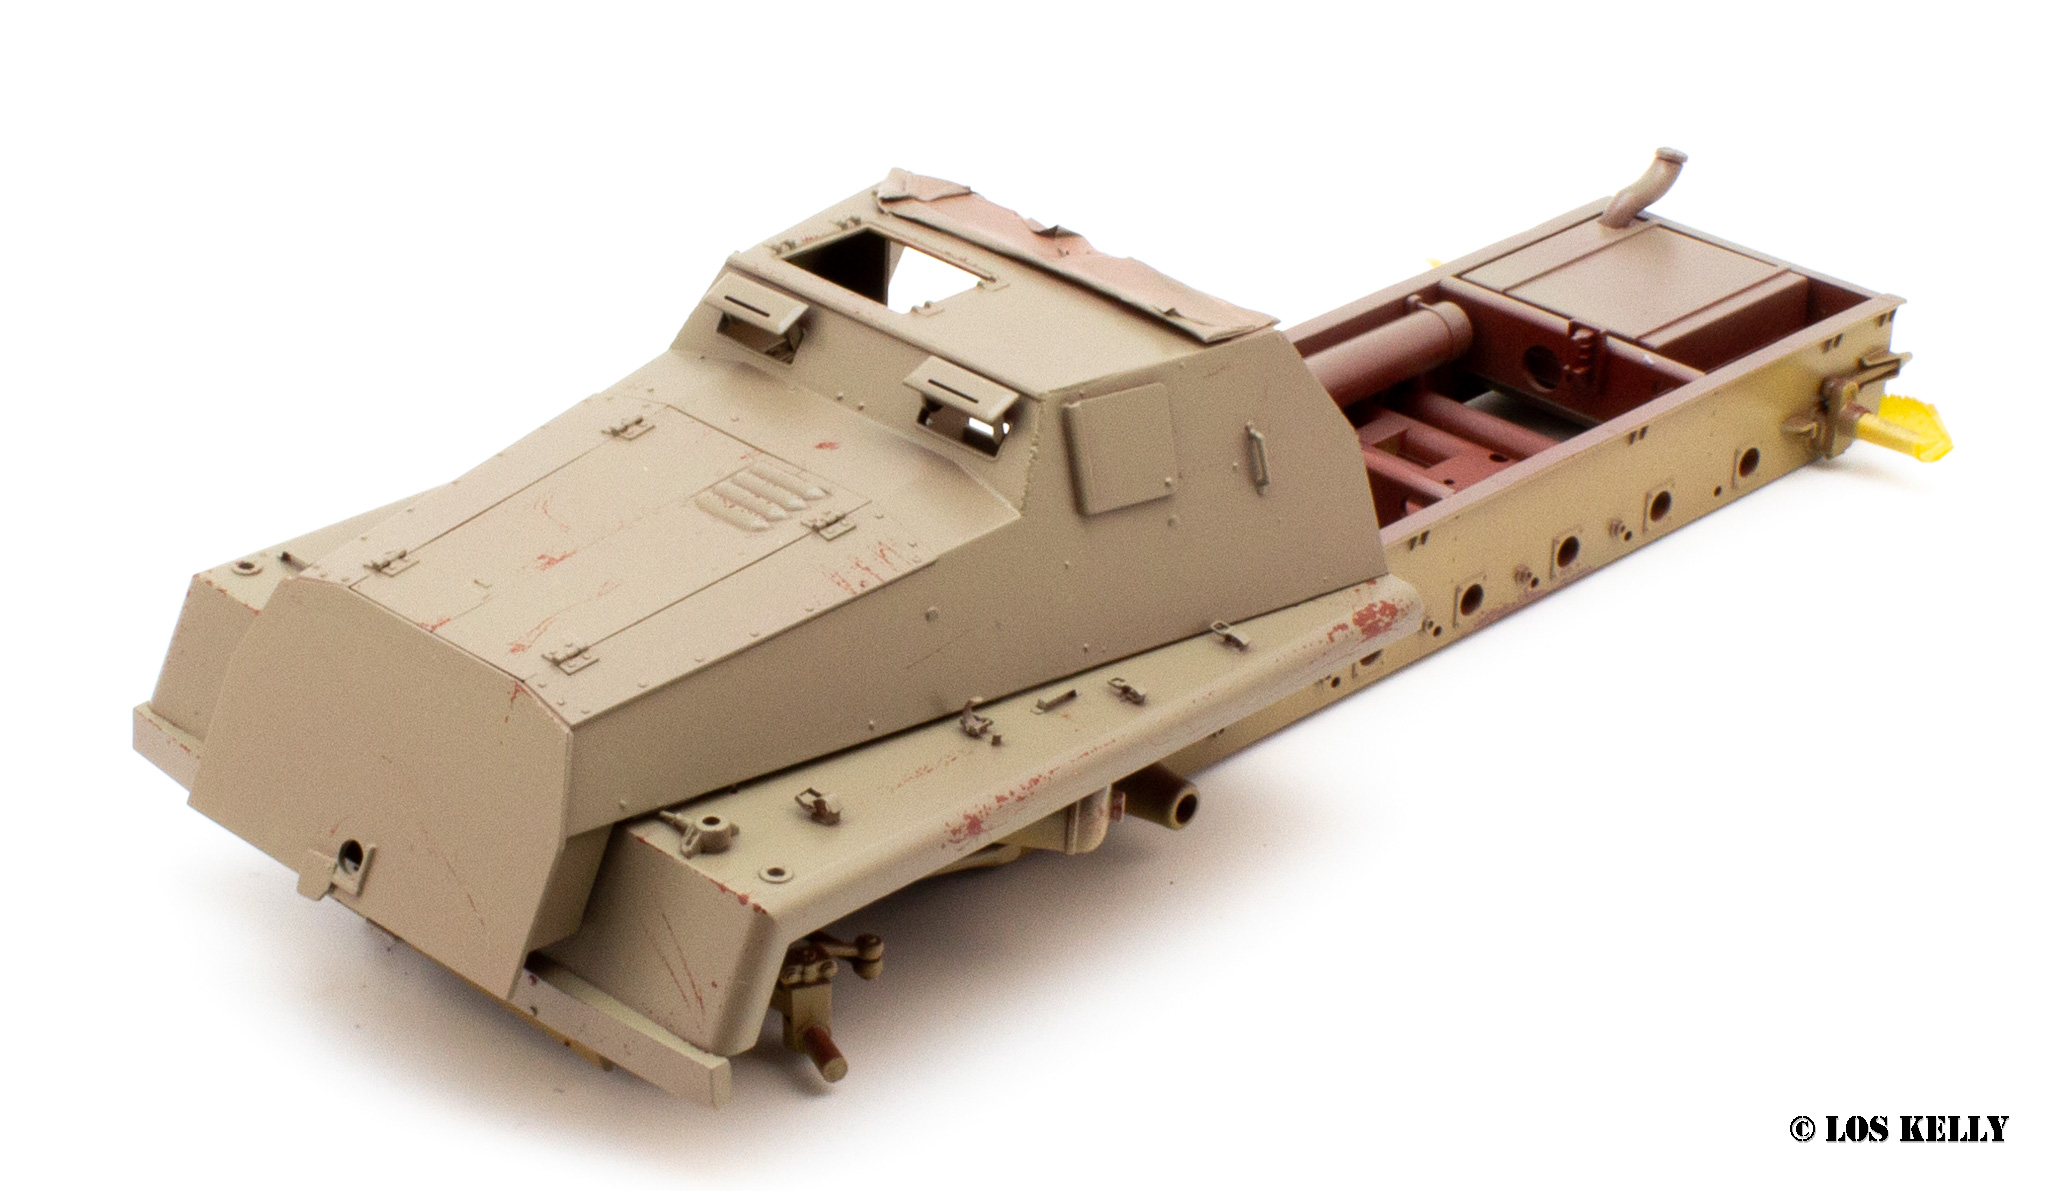
chips on the cab and engine panels were kept fine and light, mainly just to the very edges
and areas where wear would likely occur in operational use.
The cargo bed however was roughed up far more, with some treadplate
panels receiving some serious wear and tear.
The cab and chassis sub assemblies were kept seperate to aid paint coverage and to access the cab interior
The front wheels received the same painting and chipping treatment and the tyres were airbrushed with Tamiya tyre black acrylics. Additional accessories to be added are also in the process of being painted



No comments:
Post a Comment