
History
The Jagdpanther was preceded by two attempts at mounting an 8.8 cm gun as a self-propelled anti-tank weapon; Ferdinand - also known as Panzerjäger Tiger (P) - These used the ninety-one leftover Porsche-built VK 45.01 (P) chassis from the Tiger tank competition it lost to Henschel in 1942, and the Nashorn on the Geschützwagen III/IV (which used a combination of the Panzer III and Panzer IV components) chassis. Ferdinand proved to be too heavy, and Nashorn lightly armoured and under-powered.
A heavy tank destroyer design based on the 8.8 cm Pak 43 gun and the Panther tank chassis was ordered in late 1942. The full-size model by Daimler-Benz was demonstrated in October 1943 before Hitler. MIAG built prototypes followed in October/November 1943.
Production started in January 1944; in February, Hitler specified the simpler Jagdpanther name instead of its original "8.8 cm Pak 43/3 auf Fahrgestell Panther".
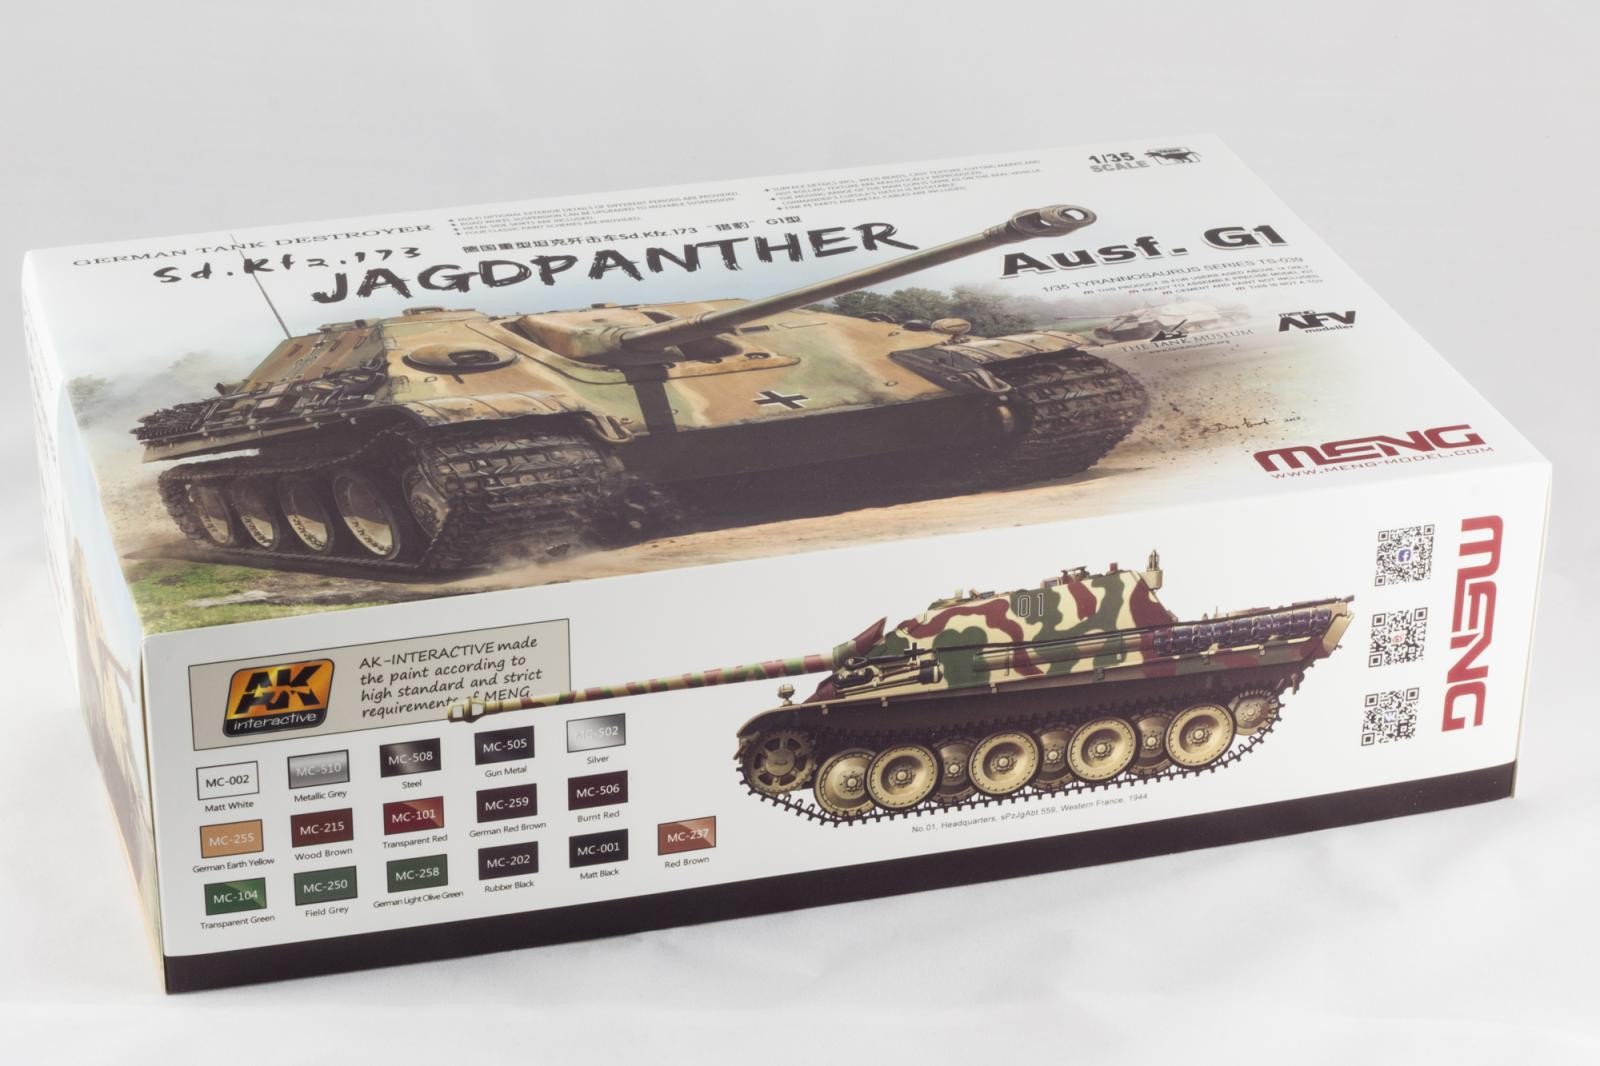
This kit was released back in 2018 so I won't bore you with a write up. Here is a decent review penned upon release: Meng jagdpanter G1 TS-039
For some build tips and historical reference for building an accurate G1, I recommend taking a look at David Coyne’s excellent blog over on Track-Link: Jagdpanther G1 Meng Model
Construction
This has been straightforward and both the upper and lower hull were built up without issue.


I choose to build kit option number two; Befehls-Jagdpanther 01 of sPz.Jg.Abt.559. This was an early G1 July 1944 build with unmodified stowage which has every part included in the box, but will require zimmerit to be added. I sourced mine from Monroe Perdu. It is of the typical square tile pattern, and the ridges are nicely non-uniform. This is a paper type which you can affix with PVA glue. (please note - Monroe recommend bare plastic is best primed before fixing in place) The upper hull sheets come complete, so you have to cut out areas to allow for your preferred pioneer tool and general exterior fixings placement.
To soften any square edges at the end of the sheets or where sheets meet, it is advisable to slice down the edge of the pattern with a sharp blade or blend them in using putty. Damage to the zimmerit is simple to achieve in the same way. It is then recommended to add a thin layer of PVA after fitment to harden the surface.


No comments:
Post a Comment