
The single axle 1.5ton trailer was used to carry ammunition for self-propelled flak guns and were typically towed by late war vehicles such as the Sd.Kfz 7/2, Mercedes 4500 and Bussing NAG 4500. Special trailers Sd.Ah.56-57
Having already built the only available 1/35 kit of the Sd.Ah 56/57 Flak ammo trailer made by Wiener Modellbau, a new 3D printed version is now available.
The Wiener Modellbau trailer is a nice little kit and builds up well. It is massive improvement on the messy example offered with Trumpeter's SP Flak gun kits, but it is still not the most accurate.
.jpg)
The new printed version has been designed by modeller Darius Stucinskas and is available to download from: Cults 3D ammunition-trailer
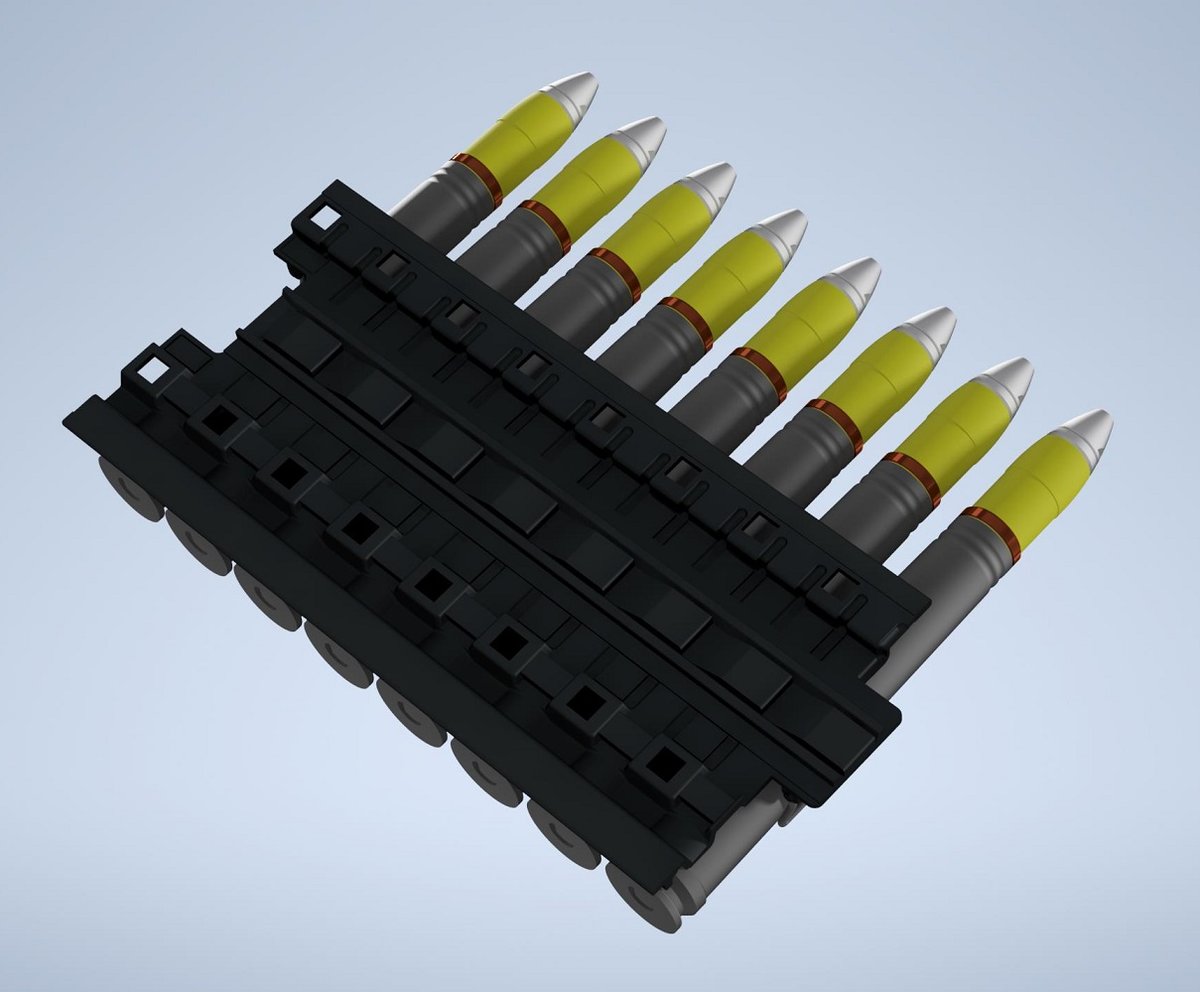
These are the colour coded CAD renderings


As I do not own a 3D printer Darius was kind enough to print one and ship it out to me. It arrived in an extremely well packaged box with a few duplicate and alternative parts. There was also a very clear step-by-step instruction sheet.


The detail is incredibly well defined for the scale. Obviously careful removal of support material is required. Clean-up of the little nubs where they attach to the parts is also needed and these are difficult to see with the naked eye on the bare resin. It is therefore advisable to prime before assembling any of the smaller fragile parts so any sanding work can be carried out beforehand.


The front and rear support legs are engineed to be moveable if you wish, and the axle bolts to the chassis as per the real thing. With care it is also possible to make the handbrake workable. The only additional material required is some 0.3mm copper wire.
Darius generously included a selection of wheels with alternative tread patterns along with a wooden roof box. Two optional rear chassis profiles are included, both with their own support leg design. The sliding interior partioning grills are intricately designed and along with all the separately printed retaining hoops, clasps, wingnuts, and padlocks, make for an incredibly detailed model.
Constructions starts off with the axle and hubs


Then moves onto the chassis and ancillary parts. The main chassis frame is printed in one piece and you can choose from two rear frame braces with their own individual support leg designs. The legs are workable with care and can be positioned up or down.
Front and rear support legs positioned down 

The front support leg can be built to be moveable using the small bolts available and will slide up and down. It is advisable to open the existing holes with micro drills to achieve a better fitment of the bolts as the printing process does flatten the entrance and exit holes.

The handbrake can also be built to be moveable using additional 0.3mm wire and care will be required as the parts are very thin. Tiny pins and bolts are provided to allow moving parts should you wish to.

These are the selection of wheel designs and tyre tread patterns shown on the 3D renderings, so if you want to represent a particular trailer it might be worth contacting the designer to request a particular wheel or tyre combination.


The tyre and wheel selection I received. The wheel faces are incredibly thin due to perfect scale rendering.


The body is built flat pack style with a centrally located support bar. Tolerances are fine so care is needed to align these tightly. Note the design cut-out on one side of the floor part which must attach at the front due to it sitting on the angled chassis frame. My kit came with the curved roof design although later variants can be seen with flat roofs, and also with door designs with less hinges.
Black rubberised CA glue was used and TBH I used a little too much in places. This resulted in panel gaps and had a knock on effect for further parts fitment. So go easy with the glue!


The body can then be affixed to the chassis frame


Ammunition containers for Flak 36/37, 38 and 43 are available and these are printed open and closed, along with the shell trays ready for firing. The shells are also available on the trays, separate, and as spent casings, so all possibilities are catered for.


The sliding dividing grills are incredibly fragile, so special care is required removing the supports. These grills were employed to prevent any load sliding forwards or backwards in transit. Typically, the ammo containers were placed over the axle with additional equipment and crew gear at either end. Access was available from two doors either side, and from doors front and rear.

A wooden sided roof box is also available
and gives additional storage. I plan to add more load items to this area.
I decided to model my trailer stationary but attached to an SP Flak gun with both doors open on one side, and with the rear compartment door open.
Plastic stock was used to bulk out the hidden boxes on the floor. Any areas that were visible through open doors was also covered with ammo boxes or additional equipment

Loose ammo boxes and crew paraphernalia will be kept separate to aid painting


The last parts to add will be the very small locker door wingnut catches, hoops for the door clasps, and the padlocks and chains. I fear that some of these parts are so well represented in scale to be virtually impossible to remove from the supports without damage, but I will endeavour to salvage what I can.

Build complete with additional roof box accessories ready for paint. The wheels will be painted seperately to aid paint coverage


As this 3D trailer is so much more accurate, this will now replace the resin Wiener Sd.Ah 56 trailer that I have displayed with my Trumpeter Sd.Kfz.7/2 Flak 43. The self propelled flak was finished in a plain Dunkelgelb depicting a vehicle set in Italy so the trailer will receive the same monochrome finish.
I first gave it a coat of primer to highlight all the 3D printing nubs that I might have missed. And yes, there were far too many I had missed!
Locker door stays


Plenty of detail underneath


With the highlighted issues attended to it was ready for paint. I had a few ready-mixed shades of Tamiya dark yellow and levelling thinner left, so I first applied this as a shadow coat underneath the trailer and on the very lower panels.
Mission Models Late 1944 RAL 7028 was used for the base coat. This is one of the more accurate in scale appearance dark yellows. My Sd.Kfz 7 Flak 43 is highlighted in this and I recall adding a drop of Tamiya clear yellow to a subsequent varnish coat to get a more harmonised effect.


The final base coat layers were carried out was a fine misting of lightened and darkened MM Dunkelgelb through a stencil mask to the larger panels. This gave a worn patina finish I like to use which starts off the weathering steps


I next test fitted it to the SP flak to check on base tones and started working on the tow hitch and hydraulics.


It was at this stage I had a little mishap and the trailer took a tumble and fell off the bench onto the floor😢 It survived suprisingly intact but did suffer from cracks and splits to main panels. I managed to save most of the original frame by re-gluing sections together. An additional wheel was added and with some careful placement of a tarp or foilage here and there the whole vehicle should still be presentable.


I also have enough parts left in the box to make another trailer, so I will no doubt attempt to improve on this build next time I build a late war self-propelled flak gun.
The last undamaged pic I took with the wheels fixed before it went airbourne!

No comments:
Post a Comment