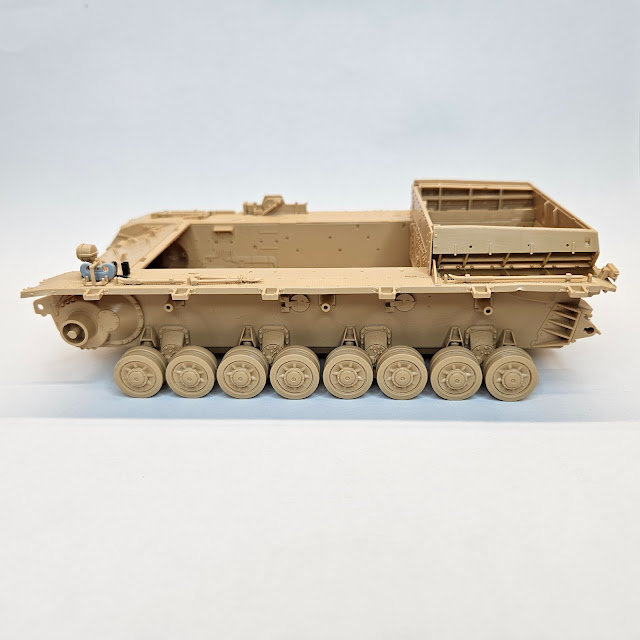
Putting asside the completed lower hull and running gear the next steps involve populating both track guards with all the pioneer tools and fittings. You are also instructed to assemble and fit the two part engine cooling louvres. These attach to the track guards before the Aufbau assemby is constructed and added. Again, everything fits extremely well. Unfortunately the C hooks were a bit of a disappointment. They both had two prominent and visible sink holes on one face and will require filler. I simply replaced one from the spares bin. I also sourced a 3D printed empty fire extinguisher holder.
The track guards attach to the Wanne side plates positively due to cut outs, and once in place the engine compartment firewall panel can be slotted down onto the Wanne floor, effectively trapping both track guards in place. This will also provide support for the top plate of the Aufbau once fitted. The Aufbau rear plate can now be fitted.
Flammentor exhaust fixing location detail on the lower rear plate.
The Aufbau front section comes in four main parts. Two sides, the roof and armoured front plate. It all fits together well without any visable gaps. I added some torch marks on the top edge of the front plate with a sharp blade and softened the groves with some Tamiya thin. Before committing to final fixing, the Aufbau front section was test fitted to the Wanne sub-assembly. This locates precisely into slots into both the transmission plate and track guards, and also into cut-outs on the rear face of the rear plate. This will then rest on the firewall panel and engine cooling louvres.
Front
detail on the Aufbau sub-assembly. The later production feature of
square shaped bullet splash guards for both hatches are correctly
represented.
Test fitting on my build resulted in the Aufbau top plate sitting a millimetre too high against the rear plate meaning it did not sit flush as it should. The offending items appeared to be both engine cooling louvres sitting a fraction too high. The Aufbau top plate angles down slightly just behind the engine hatches onto the top of the louvres and this is where it was fouling. The top plate was also not engaging down onto the firewall, which it obviously should. The only solution was to shave a small amount of material off the top of the louvres. An armoured outer plate part then covers the top portion of the louvres. This should neatly butt up against both the top and rear plates after the two sub-assemblies are connected.
Slowly removing a little plastic at a time from the top of the engine cooling louvres, the hull top panel finally fell into place. The engine deck hatches, and the remaining fittings could now be added.
Chapter 5


.jpg)


No comments:
Post a Comment